Alternative Version by Sonel and Snakelady
Snakelady's Dutch Tutorials
Snakelady's Original Tutorial
here in Dutch
The Taggers Template #50 is from BlissfullyBeth and you can download it HERE. Scroll down and look for the Taggers Template #50,
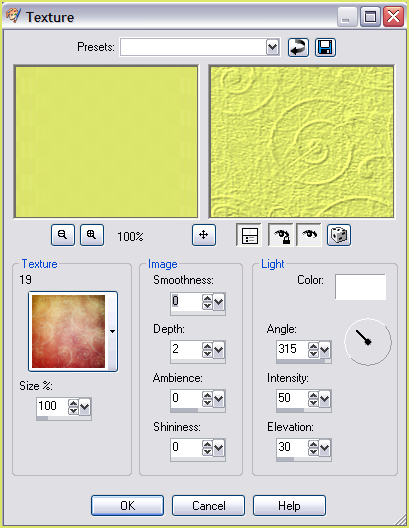
click on the image to download. Place the texture (19.jpg) in the Textures Folder in PSP
Use this pencil to
show you where you are in the tutorial.
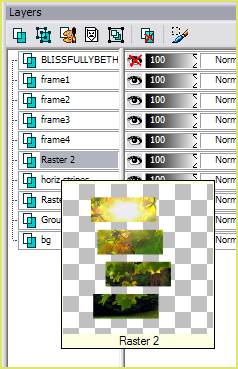
Open the rest of the Supplies in PSP. Image - Rotate Left (Counter Clockwise 90 in PSP 9). Take Note : "Invert Mask Data" is NOT ticked!!! Layers - Merge - Merge Group. Copy (stitching.pspimage) and Paste as New Layer. (Screenshot in PSP9) (Screenshot Corel Paint Shop Pro Photo XI)
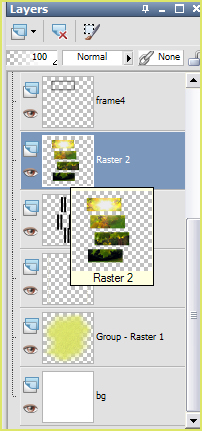
Activate the Layer : frame 4, again. With the Magic Wand, select the black border of the
Frame.
Alternative Version by Sonel
"Funny_Lady" Tube � Jazzl
Do you want to show Snakelady your result of her
tutorials? Click on the Banner to go
there. I hope you had much pleasure in doing this tutorial.
|