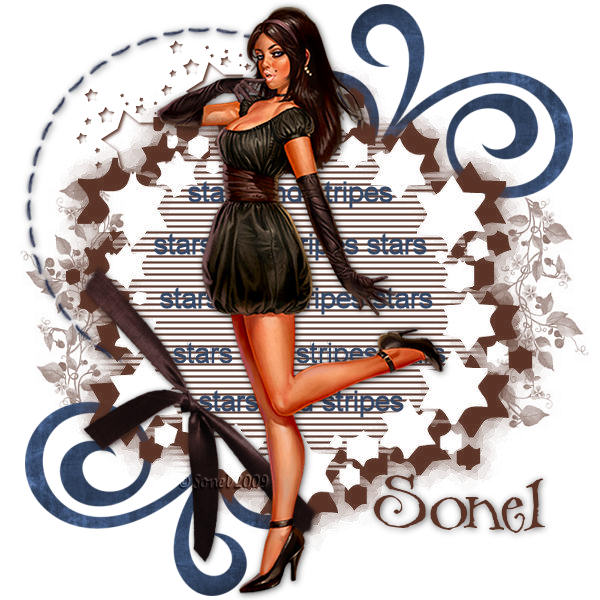
Open a New Image
: 600 x 600 White.
Layers - New Raster Layer.
Choose a colour from your tube and Flood
Fill the Layer. I used : #5a3326.
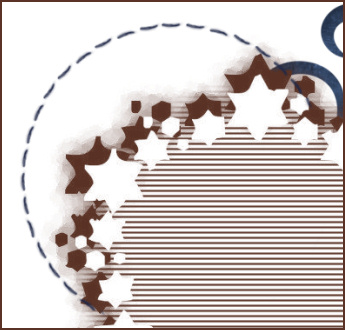
Layers - New Mask Layer - From Image :
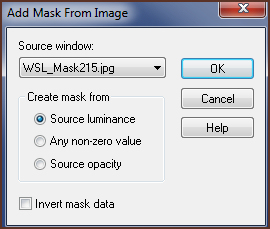
In the source window : WSL_Mask215.jpg
Invert mask data NOT checked.
Layers - Merge - Merge Group.
Copy : SFOS_TX_swirl2.png and Paste as
New Layer.
Move it to the top and to the right of
your image
Layers - Arrange - Move Down.
Erase part of the Swirl that falls over
your mask.

Layers - Duplicate
Image - Mirror - Image - Flip.
Activate the Top Layer.
Copy : SFOS_TX_roundstitch2.png and
Paste as New Layer.
Move to the left, top of your image.
Erase the part that falls over the mask.
Apply Drop Shadow
: 1-1-65-10 Black.
Copy : tekst.pspimage and Paste as New
Layer.
Activate the Paint Brush and look for
the brush : pmsbrush13 002

Activate the white Background Layer
Apply the Brush with the colour
: #5a3326, or a colour of your choice,
to the right of your image
Set the rotation of the Brush on 180 and
apply on the left of your image.
Look for the Brush
: hbgbrush-old053 002 and apply twice
(2x) on the left side of your image.
Activate the Top Layer.
Copy : SFOS_TX_bigbow.pspimage and Paste
as New Layer.
Move to the left, bottom of your image.
Copy the tube :
Image10Bubbles_LR-06-07-09.pspimage and
Paste as New Layer.
Apply the same Drop Shadow.
Layers - Merge - Merge All (Flatten).
Place your watermark and name.
Fonts used : WackyDuck NF and PC Wacky.

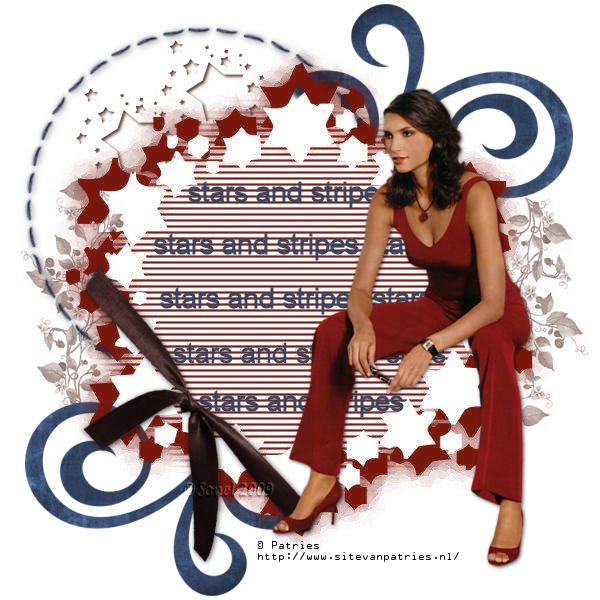
Alternative Version by
Snakelady

|