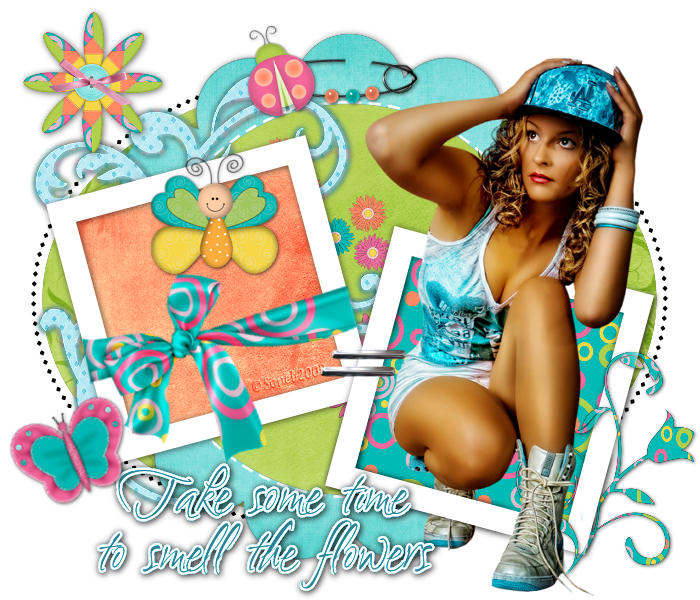
Let's Start!
Open the template (CS_tagtemplate#3.psd) in PSP.
Lock the Top Layer (©) that contains the watermark.
Activate the Layer : ellipse
Selections - Select All -
Selections - Float.
Copy one of the Papers (I used Seachell_SpringTime_Paper3.png)
and Paste into Selection.
Selections - Select None.
Activate the Layer : scalloped shape.
Selections - Select All - Selections - Float.
Copy one of the Papers again (I used Seachell_SpringTime_Paper10.png)
and Paste into Selection.
Selections - Select None.
Effects - 3D Effects - Drop
Shadow : 1-1-60-10 Black
Activate the Layer : circle
Selections - Select All - Selections - Float.
Copy one of the Papers again (I used Seachell_SpringTime_Paper1.png)
and Paste into Selection.
Selections - Select None.
Activate the Layer : doodle flower 1
Selections - Select All - Selections - Float.
Copy one of the Papers again (I used Seachell_SpringTime_Paper9.png)
and Paste into Selection.
Selections - Select None.
Effects - 3D Effects - Drop Shadow : 1-1-60-10 Black
Layers - Arrange - Move Up
Activate the Layer : left frame background
Selections - Select All - Selections - Float.
Copy one of the Papers again
(I used Seachell_SpringTime_Paper2.png)
and Paste into Selection.
Selections - Select None.
Activate the Layer : left frame.
Effects - 3D Effects - Drop Shadow: 1-1-60-10 Black
Activate the Layer : right frame background
Selections - Select All -
Selections - Float.
Copy one of the Papers again
(I used Seachell_SpringTime_Paper5.png)
and Paste into Selection.
Selections - Select None.
Activate the Layer : right frame.
Effects - 3D Effects - Drop Shadow: 1-1-60-10 Black
Activate the Layer : doodle flower 2
Selections - Select All - Selections - Float.
Copy one of the Papers again (I used Seachell_SpringTime_Paper8.png)
and Paste into Selection.
Selections - Select None.
Effects - 3D Effects - Drop Shadow : 1-1-60-10 Black.
Activate the Layer : add a flower of choice.
Selections - Select All - Selections - Float.
Copy one of the Papers again
(I used Seachell_SpringTime_Paper6.png)
and Paste into Selection.
Selections - Select None.
Effects - 3D Effects - Drop Shadow : 1-1-60-10 Black
Activate the Top Layer.
Copy the tube (TreeTubesJamieEason.0901.pspimage)
and Paste as New Layer.
Move it below and a little to the right.
Activate the Layer : right frame
Layers - Duplicate.
Layers - Arrange - Bring to Top.
Activate the Eraser Tool and Delete part of the Frame.

Activate the Layer of the
tube (Raster 1) and Apply the same Drop Shadow.
Activate the Layer : doodle flower 2.
Layers - Arrange - Bring to Top.
Activate the Layer : wordart.
Layers - Arrange - Bring to Top.
Effects - 3D Effects - Drop
Shadow: 1-1-60-10 Black
Layers - Merge - Merge All (Flatten).
Place your watermark and name
I used the font : Oceans11.

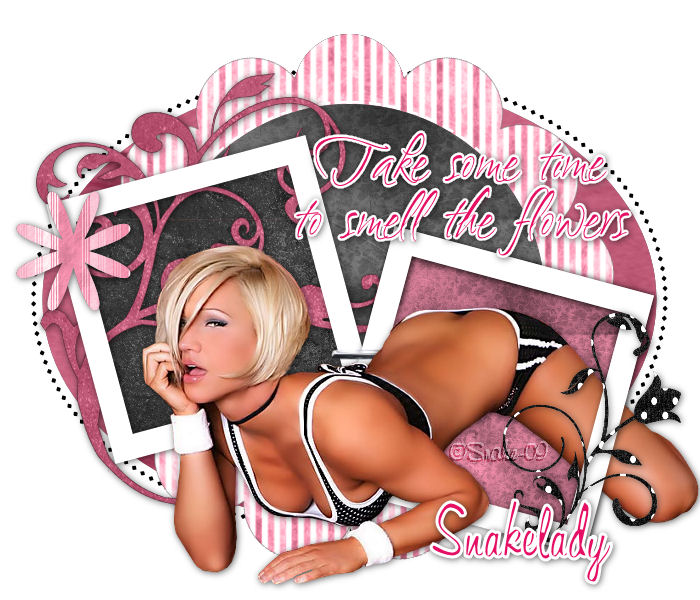
Alternative Version by
Snakelady
Back to Top
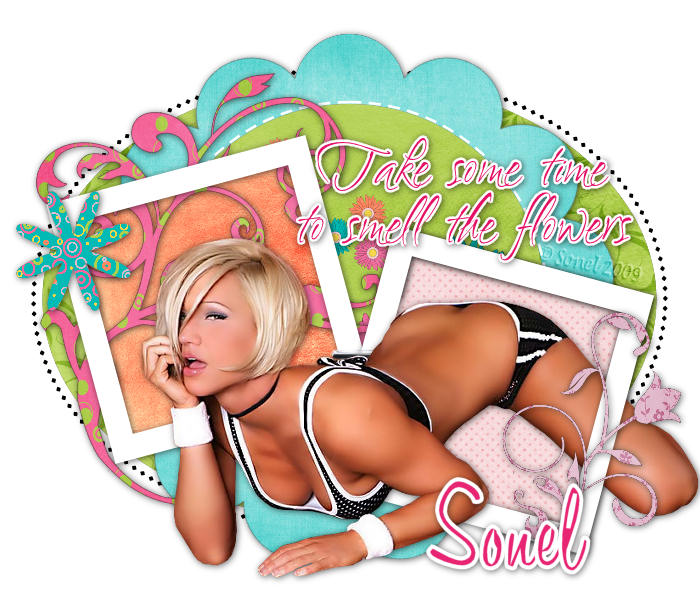
Alternative Version by
Sonel
Tube by
Jet
Back to Top
Do you want to show Snakelady
your result of her tutorials?
Become a member of her showbord and show her what you've made.
This group was specially created for others to show their results.
Click
on the Banner to go there.

I hope you had much pleasure
in doing this tutorial.
Please leave the names and watermarks on the tubes intact.
Do not use anything without Snakelady's permission and NO
hot-linking please.
If you want to use her tutorial for other purposes,
please ask permission first.
©Snakelady 12-03-09 All Rights Reserved.