Open all the Supplies in PSP.
Open a New Image : 600 x 600 White.
Layers - New Raster Layer.
Flood Fill the layer with : #2b2821 or a dark colour from your tube.
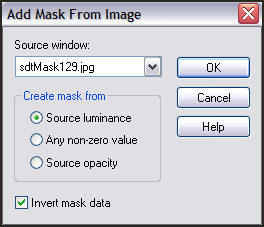
Layers - New Mask Layer - From Image - Add Mask from Image : sdtMask129.jpg
Layers - Merge - Merge Group.
Image - Rotate - Rotate Clockwise 90 (PSP 9).
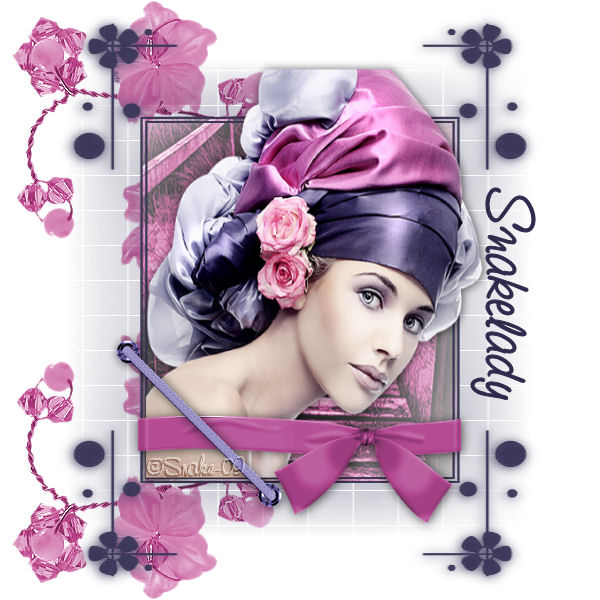
Copy Raster 1 of perle01-tube-colombe.pspimage and Paste as New Layer.
Move to the left and down.
Arrange the Layer below the Mask Layer and erase the part
that is visible inside the white frame.
Layers - Duplicate - Image - Flip.
Activate the Selection Tool - Create a Rectangle Selection around the White Frame.
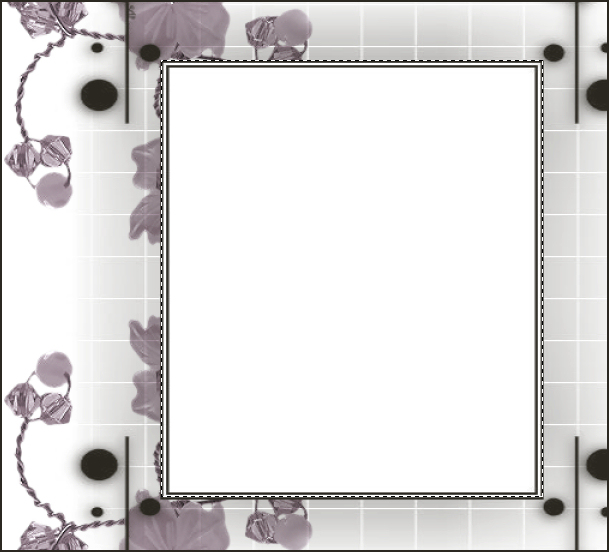
Copy the selection in the background (kTs_39cV_7 copie.psp)
and Paste into Selection.
Selections - Select None.
Activate the Top Layer.
Copy the tube (Pascale_130509_Photos_ArtisticNude_Woman.pspimage)
and Paste as New Layer.
Move the bottom of the tube into the left, bottom corner of the Frame.
Effects - 3D Effects - Drop Shadow : 1-1-65-15 Black.
Copy the bow (strik - snake.pspimage) and Paste as New Layer.
Move to the bottom of your image.
Apply the same Drop Shadow.
Copy (sstitch - snake.pspimage) and Paste as New Layer.
Move into position (see example).
Layers - Merge - Merge All (Flatten).
Place your watermark and name.
For this I used the font : StudioScriptICG.

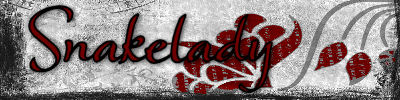
Alternative Version by Snakelady
Back to Top
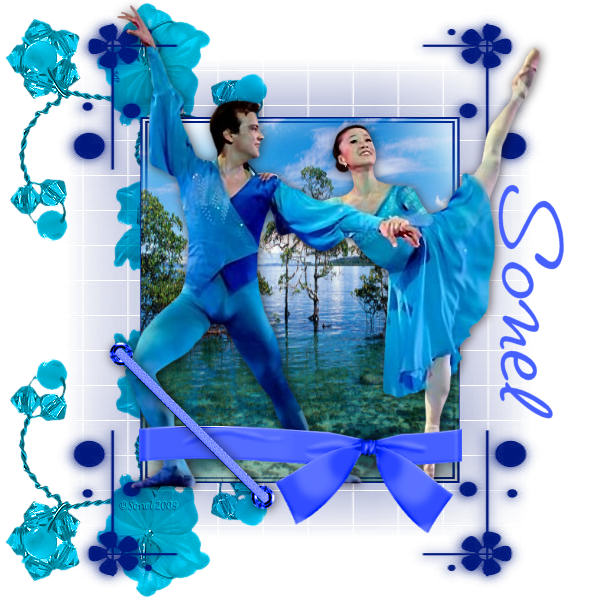
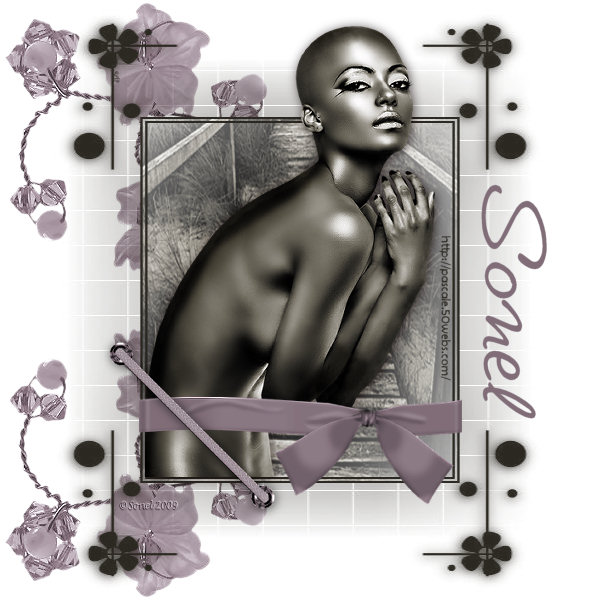
Alternative Version by Sonel