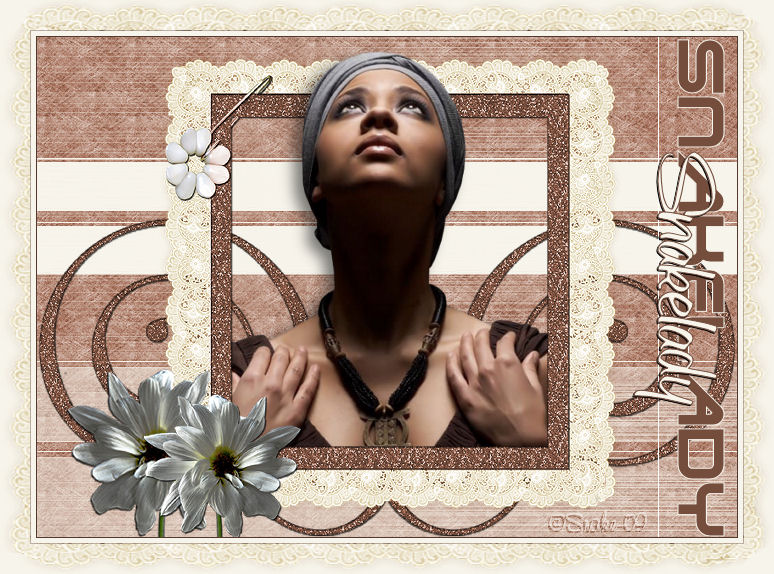
Set the foreground colour to #f7f4eb and the background
colour to #504f4f.
Open a New Image : 700 x 500 transparent.
Floodfill the Layer with the light foreground colour : #f7f4eb.
Copy the background.pspimage and Paste as New Layer.
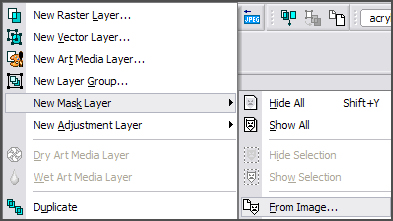
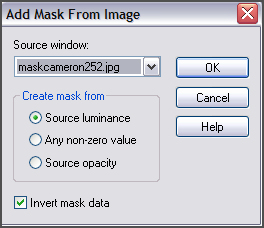
Layers - New Mask Layer - From Image:

Add Mask From Image
Look in the Source Window : maskcameron252.jpg
Invert Mask Data!

Effects - Edge Effects - Enhance.
Layers - Merge - Merge Group.
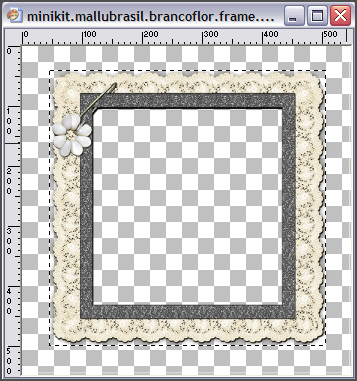
Copy the frame (minikit.mallubrasil.brancoflor.frame.psd) and Paste as New
Layer.
Leave as it is.
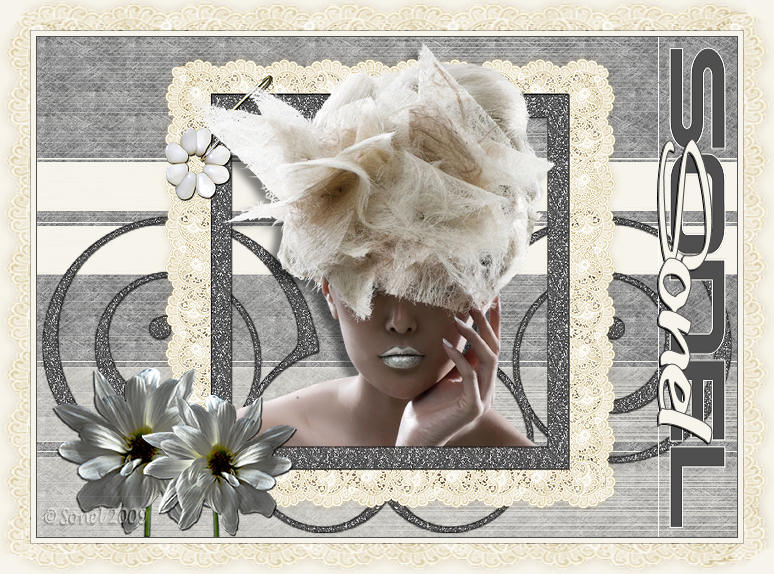
Copy the tube (jet-woman4-februari-2009.pspimage) and Paste as New Layer.
Leave as it is.
Duplicate the tube layer.
Click on the bottom layer (Raster 3) - Arrange - Move Down.
Activate the top layer and delete/erase the bottom
and side part of the tube that falls outside the frame.
Erase/Delete the part of the bottom tube that falls outside the frame.
Apply the following Drop Shadow to the bottom tube layer : 6, -9, 50,10
Black.
Activate the Top Layer.
Copy the swirl (minikit.mallubrasil.brancoflor.swirl.psd) and Paste as New
Layer.
Move it to the left bottom.
Layers - Arrange - Move Down (3x) - just above the Mask Layer.
Layers - Duplicate - Image - Mirror.
Activate the Top Layer.
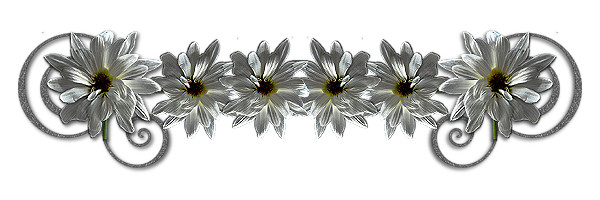
Copy the flower (minikit.mallubrasil.brancoflor.flor.psd) and Paste as New
Layer,
Move it to the left bottom of the frame, with the stalk on the border at the
bottom.
Layers - Duplicate
Image - Mirror.
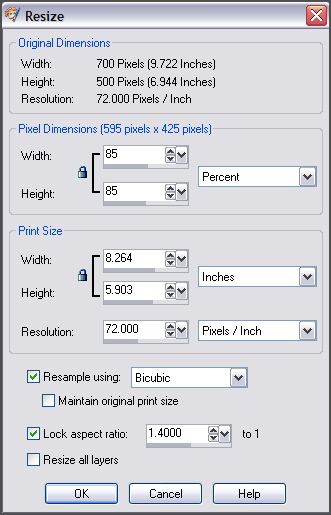
Image - Resize - 85% bicubic - Resize all layers NOT ticked.

Move it a little bit in front of the other flower.
Layers - Merge - Merge All (Flatten).
Image - Rotate Counter Clockwise 90.

Activate the Text Tool.
Type your name with the font : Terminator Two - size : 70.
Drag your name out to the sides.
Layers - Convert to Raster Layer.
Swap the Colour Materials and with the font : ObetteScriptSSK - size : 72 -
and type your name once again.
Place your name on the line in the middle.
Effects - 3D Effects - Drop Shadow : 1-1-100-1 Black.
Layers - Convert to Raster Layer.
Image - Rotate - Clockwise 90.
Image - Add Borders : 1 pixel with the dark colour (#504f4f).
Image - Add Borders : 5 pixels with the light colour (#f7f4eb).
Image - Add Borders : 1 pixel with the dark colour (#504f4f).
Image - Add Borders : 30 pixels with the light colour (#f7f4eb).
Select the border with your Magic Wand.
Open the frame once again.
With the Selection Tool, draw a rectangle selection around the frame.

Copy the Selection.
Go back to your working image and Paste Into Selection.
Leave Selection as it is - Layers - Duplicate
Image - Mirror.
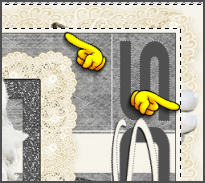
Erase the parts of the flower that is still visible on the right.

Selections - Select None.
Layers - Merge - Merge All (Flatten).
Place your watermark.

Alternative Version by Snakelady

Back to Top

Alternative Version by Sonel
