Open all the Supplies in PSP.
Open a New Image : 600 x 600 White.
Open the Scrapkit (verassing-week-16.pspimage),
lock the watermark layer and unlock the other layers.
Copy (Achtergrond2) and Paste as New Layer.
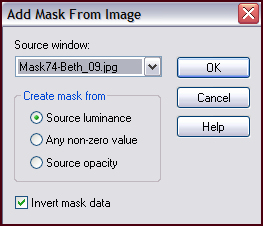
Layers - New Mask Layer from Image - Add Mask from Image -
Look in the Source window : Mask74-Beth_09.jpg
Layers - Merge - Merge Group.
Go back to the Scrapkit, copy the Layer (Veter) and Paste as New Layer.
Image - Mirror.
Move to the left.
Go back to the Scrapkit, copy the Layer (Kant) and Paste as New Layer.
Move it to the left as well, with the bottom part even with the block.

Delete the top part of the lace (Kant).
Layers - Arrange - Move Down.
Activate the Top Layer.
Go back to the Scrapkit, copy Layer (Hart 1) and Paste as New Layer.
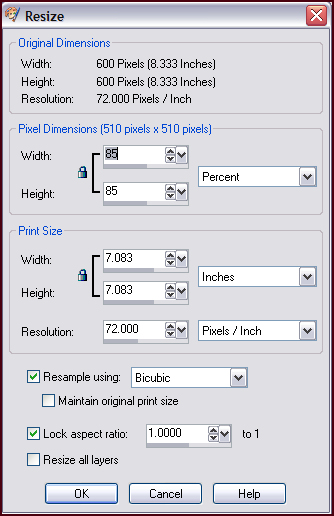
Image - Resize - 85% Bicubic - Resize All layers NOT ticked!
Repeat it 3x more and move to the left top of your image.
Copy the layer (Wordart) and Paste as New Layer.
Move to the right, top of your image.
Copy (ribbon_frame.png) in the Supplies folder and Paste as New Layer.
Move to the right.
Select one of the 3 Frames with the Magic Wand.
Layers - New Raster Layer.
Go back to the Scrapkit, copy the layer (Hart 2) and Paste into Selection.
Selections - Select None.
Activate the Frame Layer and Select another Frame
Activate the Top Layer and Paste into Selection.
Repeat the same procedure with the last Frame.
Layers - Arrange - Move Down.
Activate the Top Layer.
Copy the tube (Kiss_From-A-Rose_by_SandraPascuini-tubed-by-Macha-mai09.pspimage)
and Paste as New Layer.
Move it down and to the left.
Apply the following Drop Shadow to the tube and the ribbon frame : 1-1-50-9 Black.
Layers - Merge - Merge All Layers (Flatten).
Place your watermark and name.
For this I used the font (included in Supplies Folder) : Snoopy Snails NF.

Alternative Version by Snakelady

Back to Top
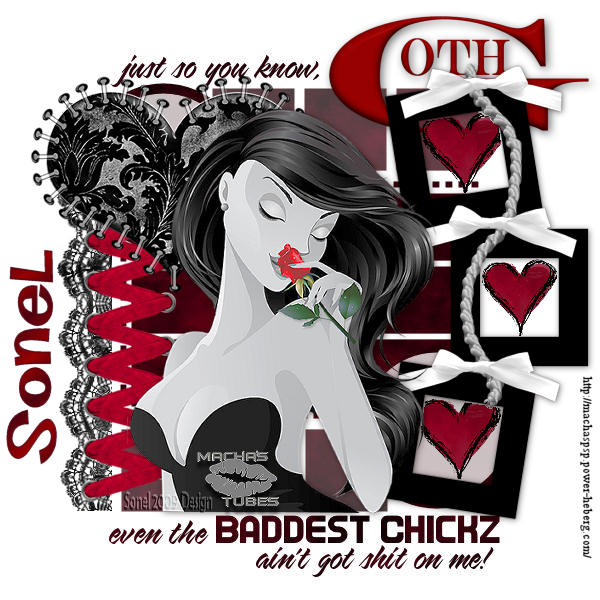
Alternative Version by Sonel

Back to Top
Do you want to show Snakelady your result of her
tutorials?
Become a member of her showbord and show her what you've made.
This group was specially created for others to show their results.
Click on the Banner to go
there.

I hope you had much pleasure in doing this tutorial.
Please leave the names and watermarks on the tubes intact.
Do not use anything without Snakelady's
permission and NO hot-linking please.
If you want to use her tutorial for other purposes,
please ask permission first.
©Snakelady 15-05-09 All Rights Reserved.
TUTORIALS INDEX