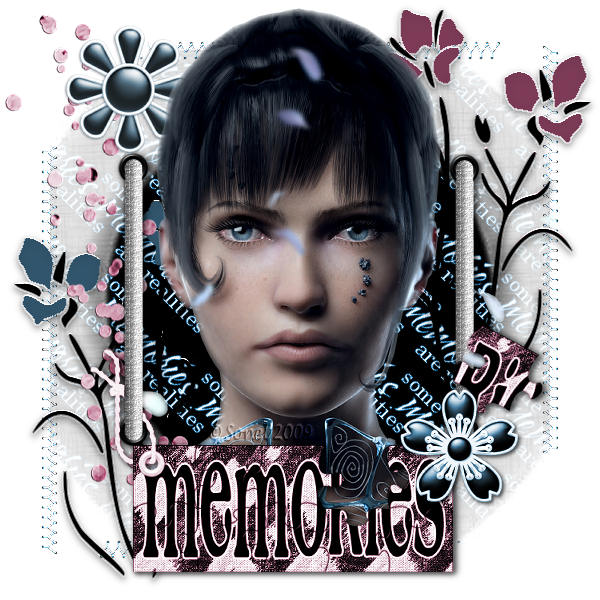
Open a New Image : 600 x 600 White.
Copy HS_paper.pspimage and Paste as New Layer.
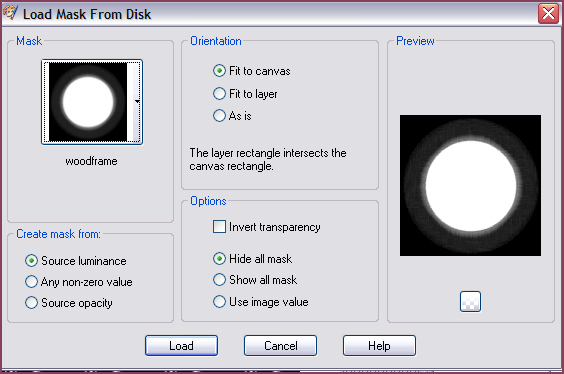
Layers - Load/Save Mask - Load Mask from Disk - look for the Mask : woodframe
and Load with the following settings:
Layers - Merge - Merge Group.
Copy HS_Stitching.pspimage and Paste as New Layer.
Copy HS_Frame mount Stitch.pspimage and Paste as New Layer.
Effects - 3D Effects - Drop Shadow : 2, 2, 80, 8 Black.
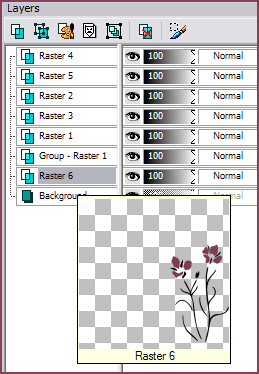
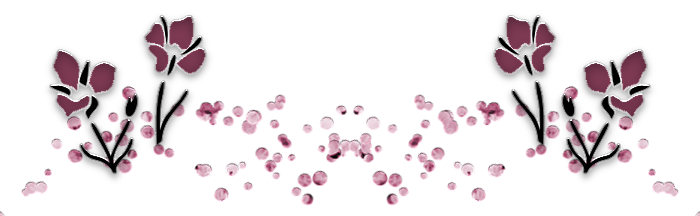
Copy confetti.pspimage and Paste as New Layer.
Move to the left.
Layers - Arrange - Move Down.
Activate the Top Layer.
Copy HS_Puzzle tag.pspimage and Paste as New Image.
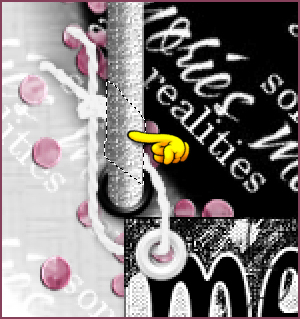
Move it to the right and below, so that the string falls around the Frame mount Stitch.
Activate the Eraser or Freehand Selection Tool and delete part of the string.
Apply the same Drop Shadow as before.
Copy the woman tube (Terry_Betrayed_Nove 07.pspimage and Paste as New Layer.
Layers - Arrange - Move Down.
Apply the same Drop Shadow as before.
Activate the Top Layer.
Copy doodle.pspimage and Paste as New Layer.
Move it to the right and to the bottom.
Layers - Arrange - Move Down - until it's under the Layer of the Mask (Group - Raster 1)
Activate the Top Layer.
Copy HS_Flower 1.pspimage and Paste as New Layer.
Move it to the top left and move the Layer down until
it's under the Layer of the woman tube (Raster 5).
Copy HS_Flower2.pspimage and Paste as New Layer.
Move to the left as well and apply the same Drop Shadow as before.
Layers - Merge - Merge All (Flatten).
Place your watermark and name.
For my name I used the font : Sarah Script.
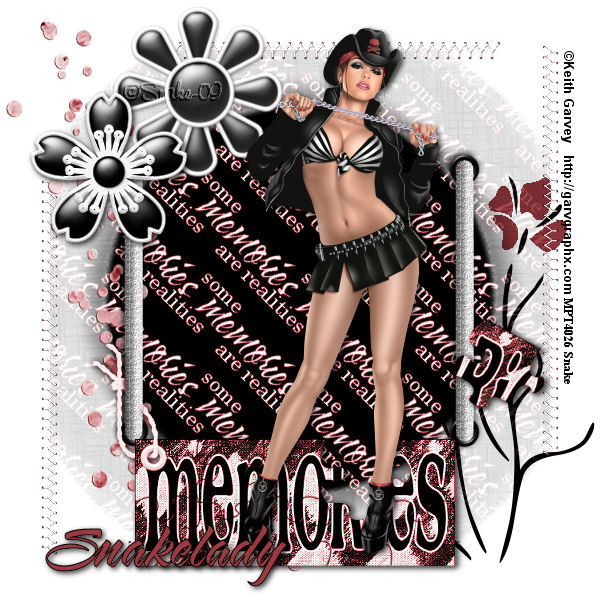
Alternative Version by Snakelady
Back to Top
Alternative Version by Sonel