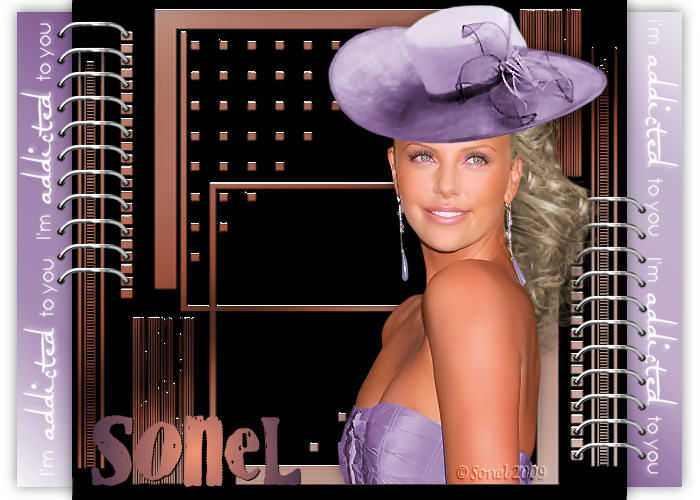
New Image : 700 x 500 White.
Copy : background 1.pspimage and Paste as New Layer.
Effects - 3D Effects - Drop Shadow : -1, 0, 50, 20 Black.
Copy : background 2.pspimage and Paste as New Layer.
Apply the same Drop Shadow.
Copy : template.pspimage and Paste as New Layer.
Copy : staples.pspimage and Paste as New Layer.
Move down to the right - exactly on the little blocks.
Paste the staples.pspimage as New Layer again and move up to the left.
Also move it exactly on the little blocks.
Copy the tube : SKF_Smoke185.07.pspimage and Paste as New Layer.
Move it a little down - position it on the bottom and side border of the template.
Apply the same Drop Shadow.
Activate the Background Layer (Raster 1)
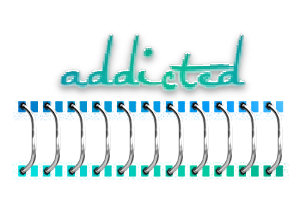
Activate the Brush Tool and look for the Brush : agi-addicted,
with the following settings:

Set the rotation to : 90 and apply with the colour : White 2x (twice)
on the right side of the background.
Change the rotation to : 270 and apply again 2x (twice) on the left side of the background.

Layers - Merge - Merge All (Flatten).
Add your watermark and name.
Fonts used : AR CHRISTY or any font of your choice.
I used : Cry Kitty

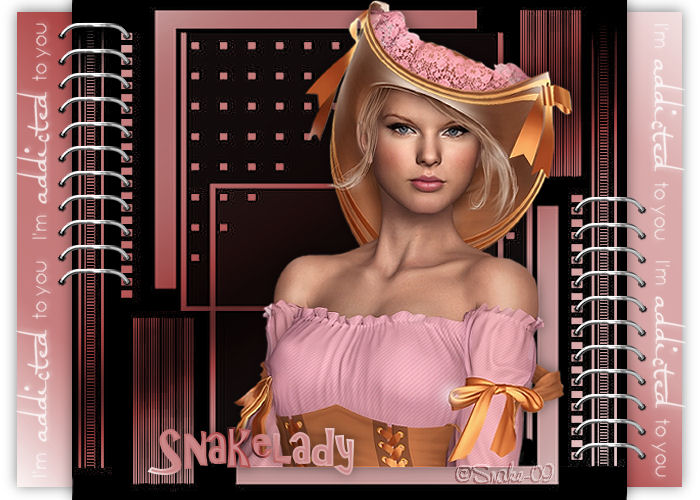
Alternative Version by Snakelady

Back to Top

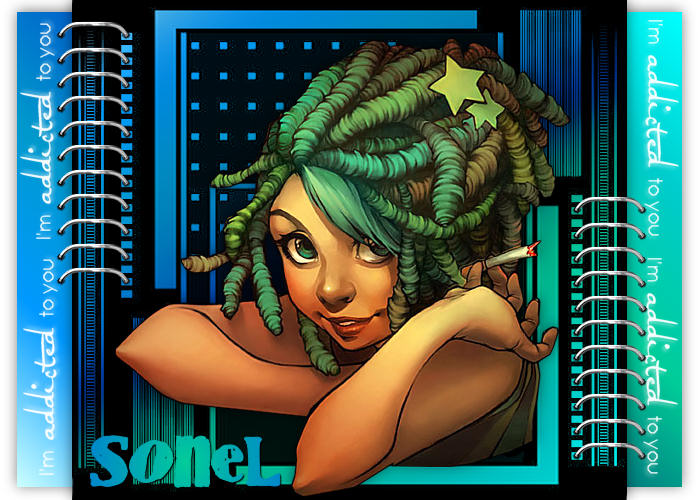
Alternative Version by Sonel
